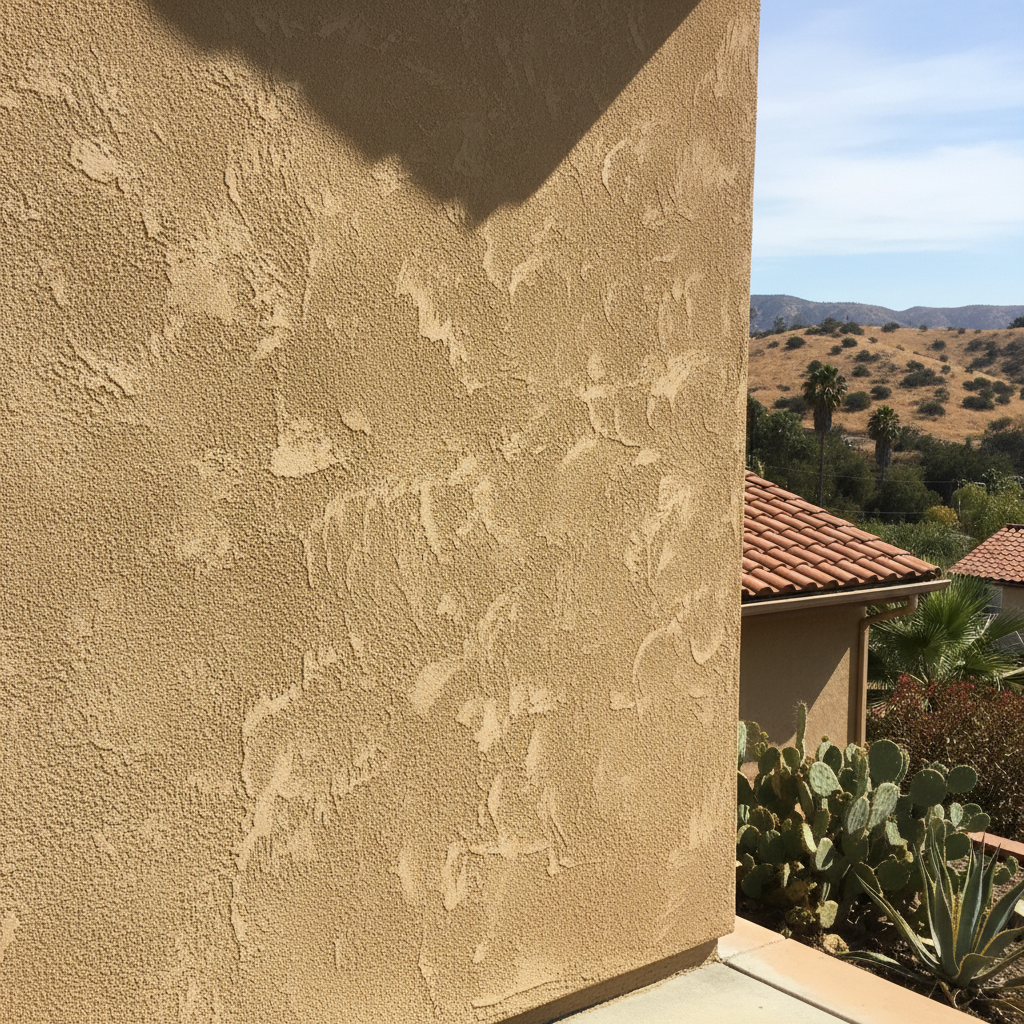
So, you're thinking about new stucco for your house, huh? Maybe you're building an addition, or your old siding is looking rough. Stucco's a great choice, especially here in Rialto. It's durable, energy-efficient, and holds up well to our hot summers and occasional Santa Ana winds. But it's not a simple weekend warrior project. Let's talk about what's involved and where you really need a pro.
Before You Start: Planning & Prep
Before any stucco goes on, you've got to get the walls ready. This is a critical step, and honestly, a lot of it you can do yourself if you're handy and meticulous. First, you need a clean, stable surface. If you're going over old siding, often that needs to come off. If it's new construction, you're usually dealing with sheathing like plywood or OSB.
Next comes the weather-resistive barrier (WRB). Think of this as your house's raincoat. It's usually a couple of layers of building paper or a synthetic wrap. This is non-negotiable. You want to make sure it's installed correctly, shingle-style, so water drains down and out, not in. Flashings around windows and doors are part of this too. This isn't rocket science, but it needs to be done right, or you'll have water problems down the road. I've seen plenty of homes in the older parts of Rialto, especially near the 210, where original stucco failed because the WRB wasn't up to snuff, leading to dry rot.
You'll also need to consider trim and accessories: weep screeds at the bottom (super important for drainage), corner beads, and casing beads around openings. These pieces aren't just for looks; they create clean lines and help manage water. You can install these yourself, but again, precision matters. Everything needs to be plumb and level.
The Lath: Where the Stucco Grabs On
Once your WRB and trim are in place, it's time for the lath. This is typically galvanized metal mesh, often called 'stucco netting' or 'diamond mesh.' It's what the stucco actually grabs onto. You fasten it securely to the wall studs through the sheathing. This is another step where a homeowner can definitely save some money by doing it themselves. It's repetitive work, but it requires careful overlapping and proper fastening to make sure it's tight and doesn't buckle. Any loose spots will show up in your finished stucco.
This is also where you need to be mindful of your local building codes. In California, especially in seismic zones like ours, there are specific requirements for lath fastening and overlaps. Don't guess; check with the City of Rialto's building department or consult a professional.
Mixing and Applying the Stucco: This is Pro Territory
Okay, here's where I'd strongly recommend you step back and call in a pro. Applying stucco isn't like painting a wall. It's a multi-coat system, and each coat has a specific job and consistency. You've got:
- Scratch Coat: This is the first layer, applied directly to the lath. It's pushed firmly into the mesh, then 'scratched' horizontally to create a rough surface for the next coat to bond to. Getting the mix right – the sand-to-cement ratio, the water content – is crucial. Too wet, it sags; too dry, it won't bond.
- Brown Coat: This is the leveling coat. It goes over the scratch coat, filling in any imperfections and bringing the wall to its final plane. This is where the skill of a good plasterer really shines. They're making sure your walls are flat and true, ready for the finish.
- Finish Coat: This is what you see. It's thinner and gives the texture and color. There are tons of different finishes – smooth, sand, dash, lace, Santa Barbara. Each one requires a different technique and feel.
Each coat needs proper curing time, too. You can't rush it. Trying to do this yourself without extensive experience usually ends up with an uneven, cracked, or poorly bonded job. You'll spend more fixing it than you would have hiring someone like Rialto Stucco & Plastering in the first place.
After the Stucco is On: Curing and Care
Once the stucco is applied, especially the finish coat, it needs to cure properly. This often involves misting it with water for several days, especially in our dry climate. This slows down the drying process, allowing the cement to hydrate fully and gain strength. If it dries too fast, it's more prone to cracking. After it's fully cured, it's pretty low maintenance. Just keep an eye out for any cracks or damage over the years and address them promptly.
So, there you have it. You can handle a good chunk of the prep work if you're careful and follow instructions. But when it comes to mixing and applying the actual stucco, trust me, that's a job for the folks who do it every day. You'll get a better, longer-lasting result, and you won't be kicking yourself later.